Monday, May 12, 2014
Schoolday Skirt
I really like the vintage feel this little skirt has, and Lucie just loves the way it fits her too! We went out and took a few photos of this skirt in action in our back yard. This was after a day of play so it may look a little wrinkled and have a few food stains on it :0) I made her a little pair of bloomers to go under it because this is a little rough and tumble kinda girl and I am not a fan of seeing her "panty flash" on the playground or anywhere else she feels the need. SO we have a win win here! A cute pair of coordinating bloomers to make her look girly and cute, she can jump and roll on the ground, and mommy is happy! I put four different vintage buttons on the front that coordinate because I wanted to use some of my stash, but not have to spend any more money of buttons... I have so many! I am really happy with how this skirt looks and I know I will be making her more as she grows.
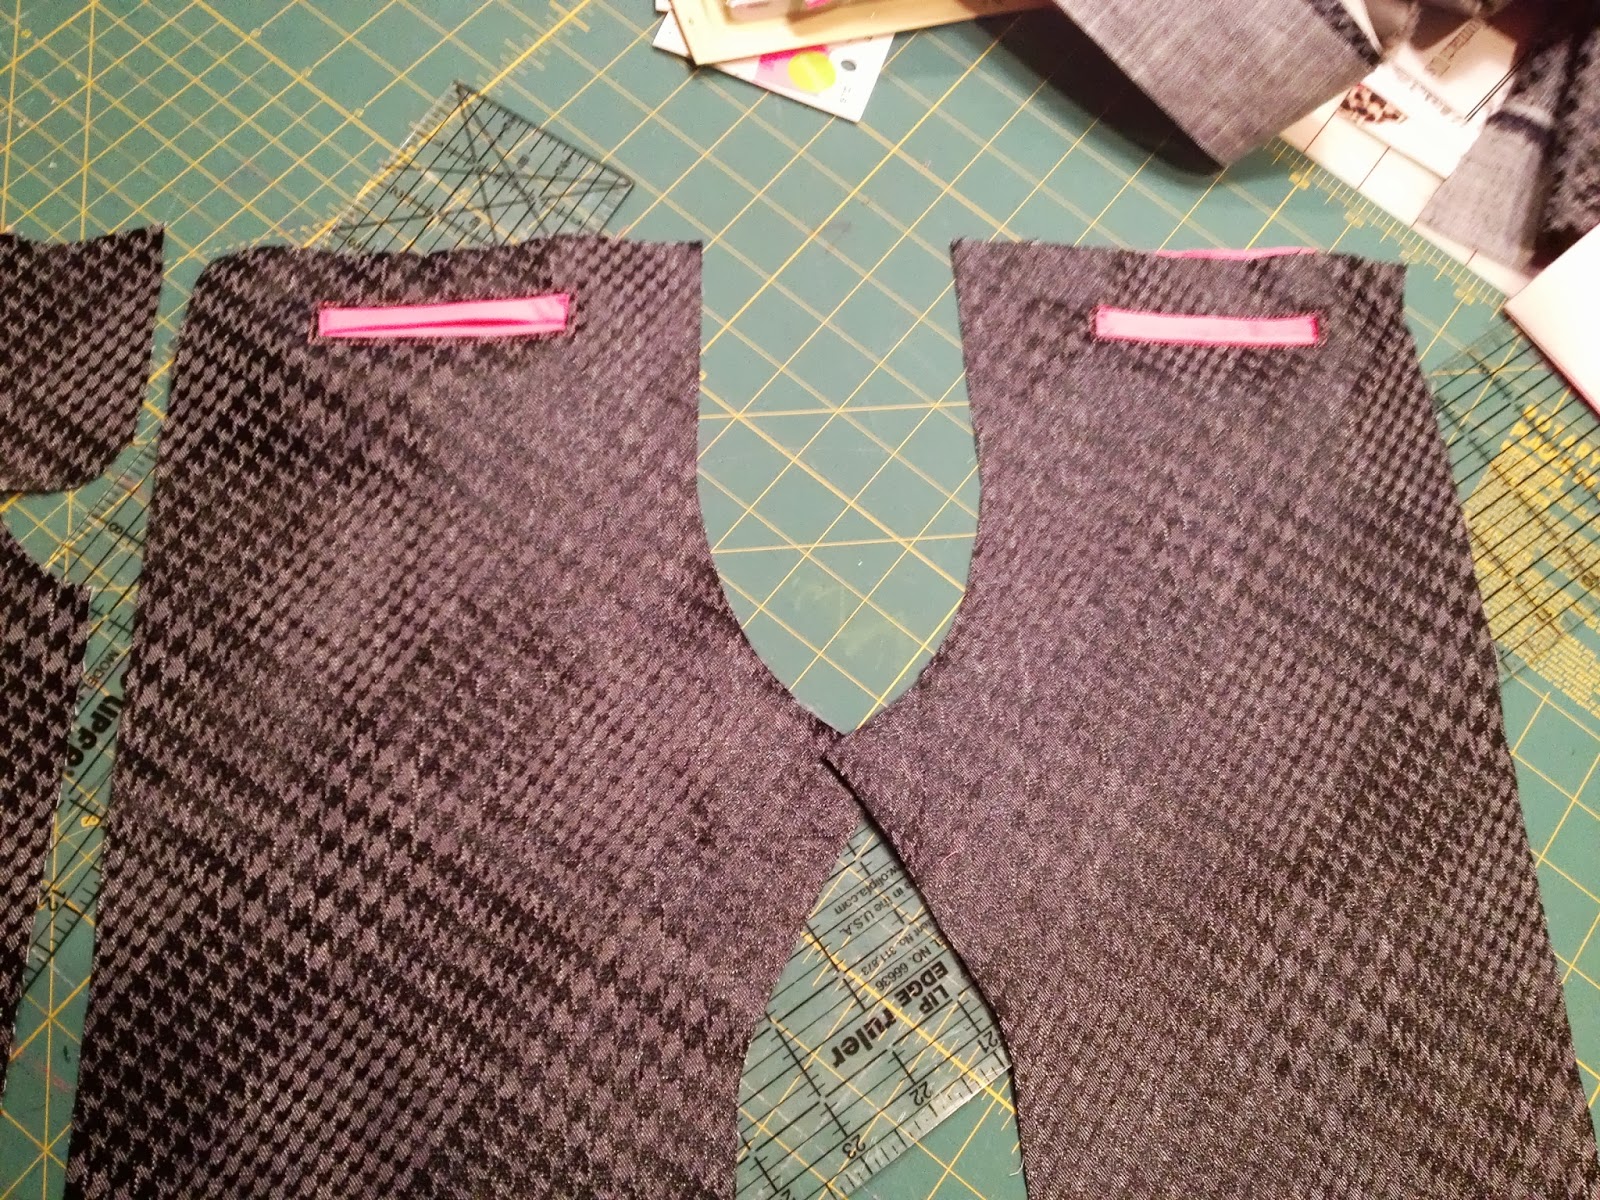
There is a pink and white hounds tooth detail in the pocket area.
Tuesday, February 25, 2014
Rabbit Lovie and Baptism
This week I wanted to post the free motion appliqued rabbit lovie I had mentioned a few weeks ago. I finished it and Sara June has been sleeping with it about two weeks now. She really loves the taggies on the end of the blanket. I really think it is so cute!
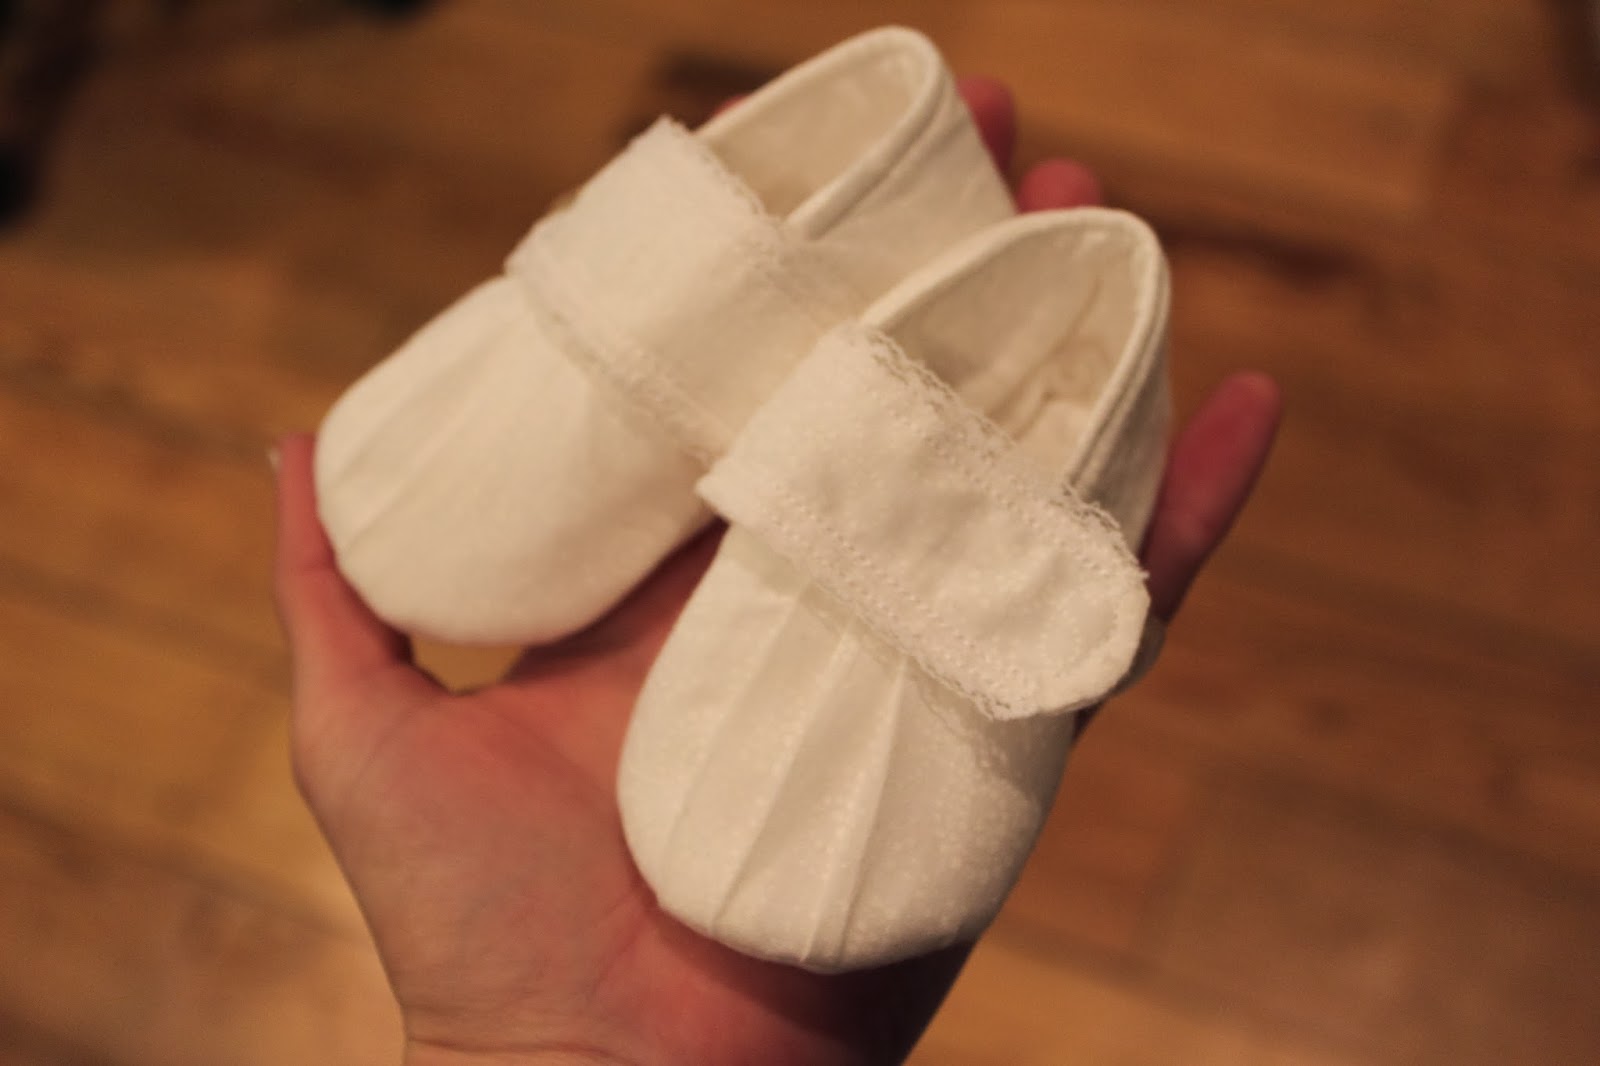
Sara June was baptized this past Sunday ad she was beautiful! I made her these little shoes, but Mom found the vintage handmade dress and bonnet for her at an auction. It was so much fun and we were so glad for those who came to her ceremony.
Sara June Jeffcoat
dedicated on February 23rd, 2014
the great grandmother Sara June is named after
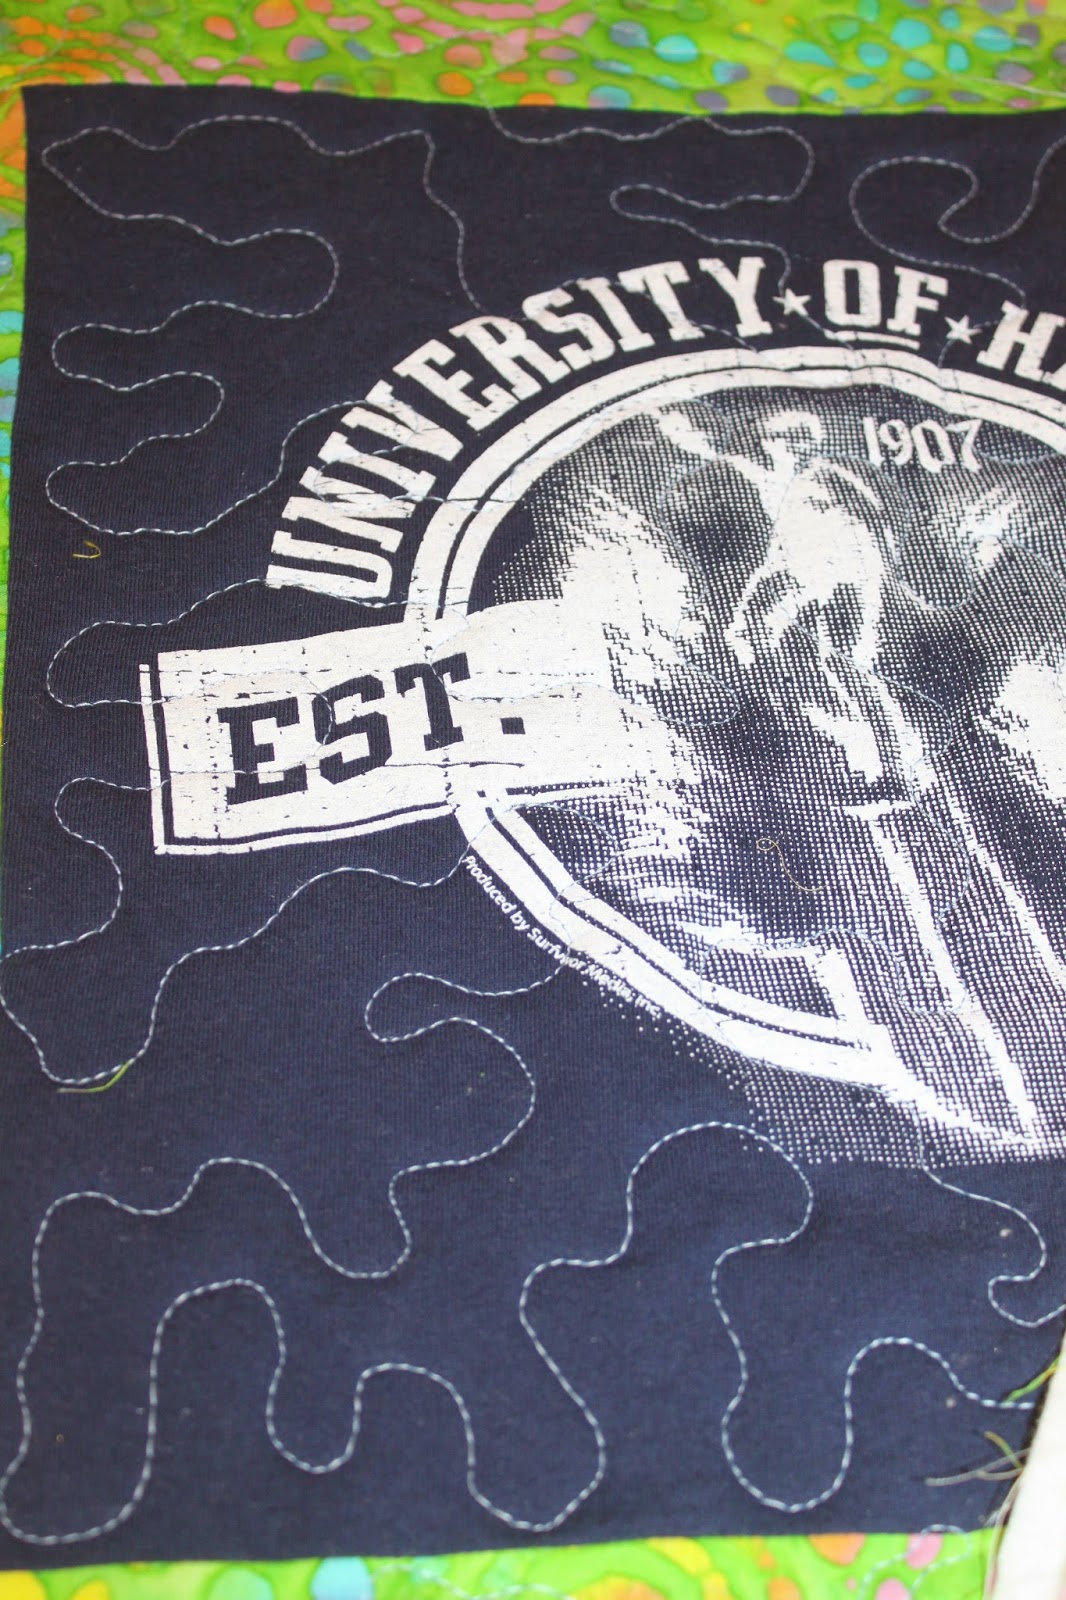
And last but not least here is my weekly Leah Day block. I really like the design wiggly pasta for a couple of reasons. it is easy to do, and it has a really great look to it! I love to do free motion instead of following the lines :0)
Saturday, February 22, 2014
Sara June Tribute
This week I enjoyed quilting the circles block, and did like Leah and just free handed them. I did rough sketch them out with my dissolving ink pen first though....Because we plan on baptizing our daughter tomorrow morning, I thought I would incorporate a cross on the block corners and I really like how it looks. I soaked the block to get all the ink off....it is wet in the photo.
regular stippling
some curls
some wavy lines
Sylvia I have quilted five of your blocks this week! Looking good! And yes, there is one with a golden retriever on it. Would you like me to free motion embroider his name on the block to remember him? If so, just comment on this post. (But his name would be backward on the the reverse of the block because this quilt is double sided!) it would be small though...
Spaghetti noodles design from this weeks video tutorial...I just did it one way, not both ways across. Maybe I'll do another block with both directions because I thought this was a fun design!!
regular stippling
some curls
some wavy lines
and a large circle that takes up the whole block on the machine
Friday, February 14, 2014
Love it!
I spent some time this afternoon quilting and really enjoyed it. Although I have been quilting for a long time, I feel like I am learning something new! Believe it or not I really enjoyed stitching out the straight lines that we were to do this week free motion style because it is really helping me with my foot and hand speed regulation. Sometimes I see some areas on the back of my quilt (especially when doing loops or curves) where the thread looks like the stitches are not 'tight" or locked together. Does that make sense? It's more like the bobbin thread is laying on the bottom side, and if the thread was cut or picked loose the whole line of stitching would just bust loose because the stitching is not tight woven....(ok did anyone follow that at ALL?!) ANYWAY, I am finding that by stitching straight lines towards me, I am getting into a groove of the speed that I should be feeding the fabric through as well as how much I should push the gas to keep up with that speed. I am doing the outside line around the block first (I call that my warm up lap) and then I start quilting on the inside of the block. This gives me some time to practice speed/feed control and then do a better job when I start quilting out the middle. I am much happier changing my thread color choice to the butter yellow and am officially caught up to speed with the free motion quilt along! :0) YAHOOOOOO!

Monday, February 10, 2014
Make Time
OK I love something Leah said in her video today!! Don't quilt the block like someones is standing there with a gun to your head! Slow down, take your time and enjoy the process. I did not blog last week because I was thinking so hard about the quilt, how it was turning out, and trying to decide what to do about it. I decided that I am going to change my thread color to butter yellow (which is what I wanted to do to begin with) instead of the brown, which was making me feel icky about this project. You know if you don't want to do it, it probably isn't going to get done ...so I have re cut and sewn all of the first three blocks, as well as the three blocks for the month of February! I am going to go back and "start over" with the quilting piece now that I have everything prepared. I took the time to cut my batting squares out, and now I just need to cut my backing squares all out. I think I'm going to like this much better :0)
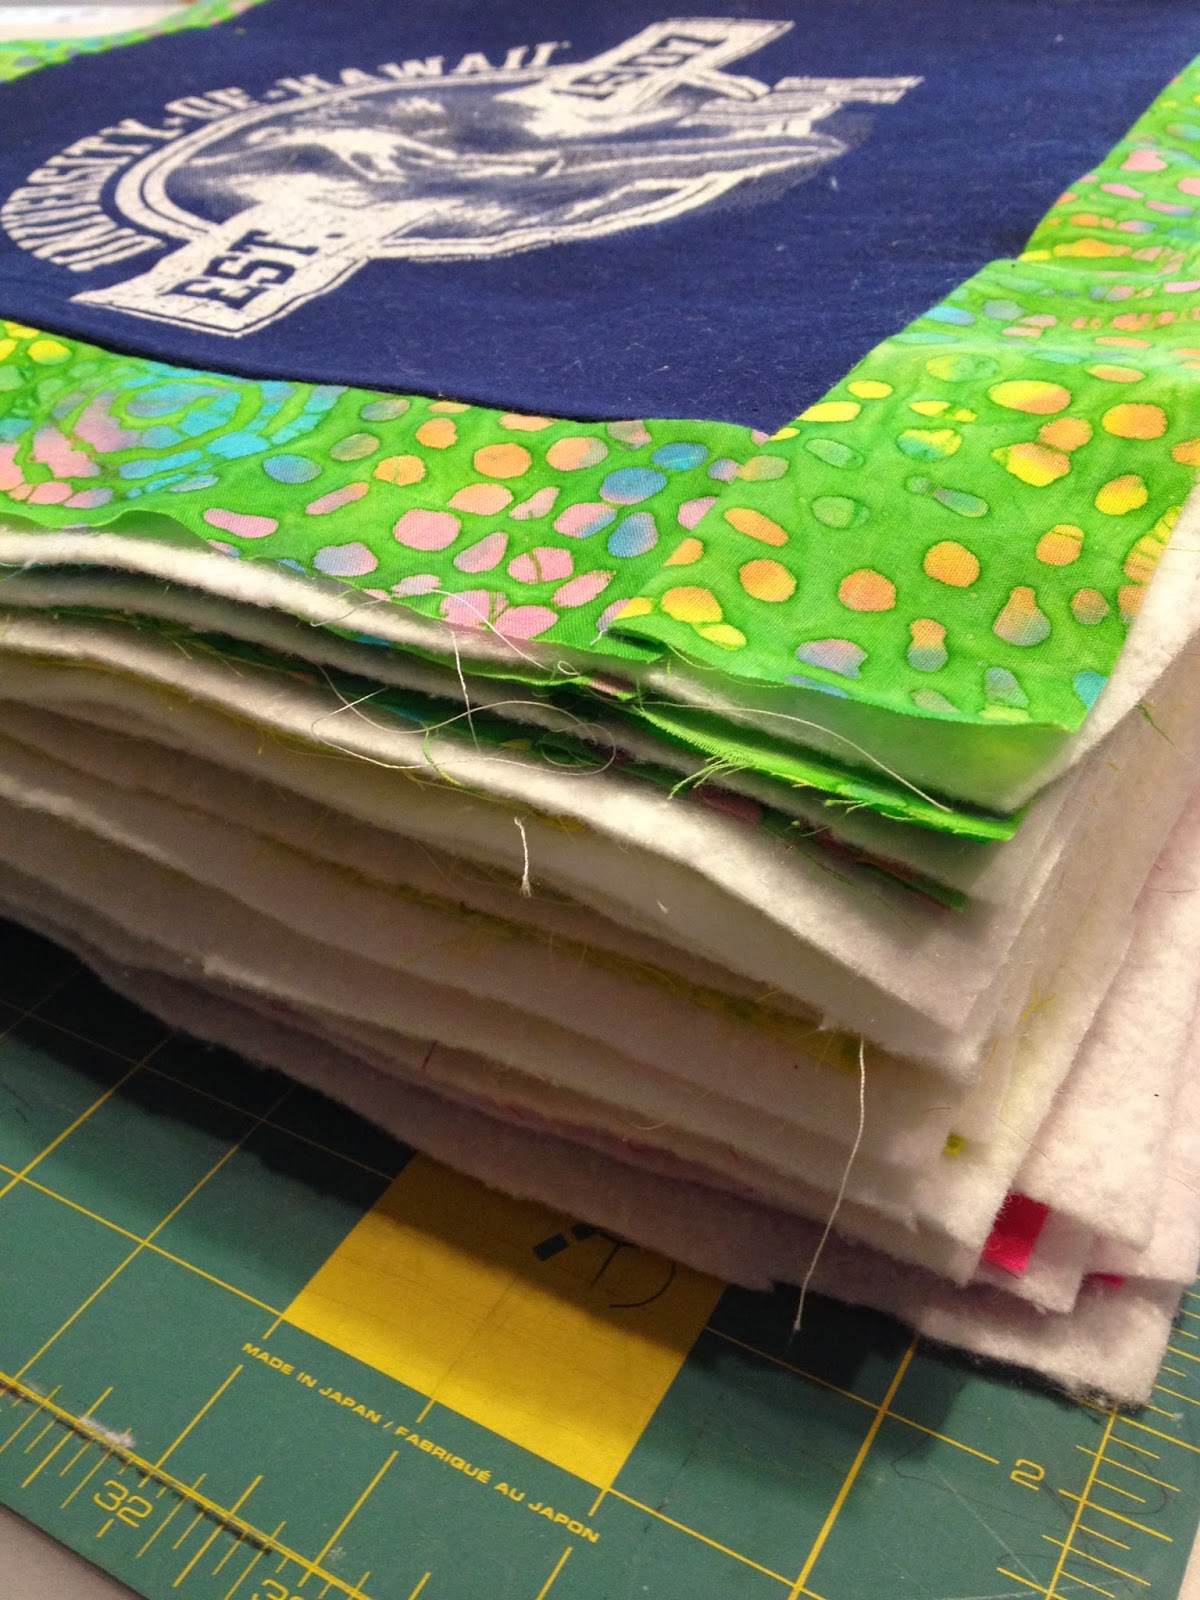
Sylvia I plan to make good progress on your t-shirt quilt this week. I have made 15 "square sandwiches", and I have five more to make. After all sandwiches are done, I am going to start quilting them out! (The fun part :0) I will repost at the end of the week to show some progress!
I am so excited to finish this up for Lu this week....It is our Rabbit Family :0) We cut out all of the applique pieces together and she helped me place them on the blankie. She had so much fun doing this..I just noticed one of the bunnies has lost it's hand when taking the photos...we'll have to re cut that!
By the way I have made so many things this past week besides quilting but to hit a few:
*A "Frozen" themed peasant dress and cape for Lucie
*Two dresses for the Etsy shop
*Eight Infinity Scarves
*A Cat in the Hat Birthday Shirt
*A baby changing pad cover/burp cloth, and ribbon
*Twins matching onesies set
*Baby leggings with feet for Sara June
*Five Valentines Day picture frames with lucie's handprints shaped like a heart and Sara June's foot print attached to the side (once I get a photo inside I will show these off)
*An overall dress for the Etsy shop...did I leave anything out....
Friday, January 24, 2014
Tough on myself...
OK so today I am sharing what really happened to me! I was quilting the block for this week, and I was really, really , really unhappy with how it was turning out. I have free motion quilted for a long time, and I am really a perfectionist to a point, so the further I was moving along the madder I was getting! I am pinpointing my trouble area: TRAVEL STITCHING in the same spot repeatedly as I am moving about the quilting space. If I deviate from that line even just a little bit it shows up big time with this chocolate thread on white and tan. So, after completing the block I stepped back, took a look at it, and decide that I was going to go in there and just make the travel stitching lines bolder to cover up the discrepancies....No, No, No....this was worse so I took the block off, cut it up, and threw it! HA! I was so mad! I was not going to pull out the seam ripper (this may have taken all night) so I took a deep breath, grabbed the third block I have prepared for next week, and requilted the block with much more success this time! Is it perfect...no! Do I like it better...yes! Am I learning a new skill....yes! Ok so here are my two blocks (one in the trash now, and the other to use in my quilt). Learning something new can be tough, especially when you feel like you already know what you are doing and things are not going as planned. :0)
Sylvia, as for your quilt I made good progress on it Monday of this week, now having 30 block sewn together! I do not usually quilt my quilts like I was talking about in the paragraph above, so don't worry I will stick to my usual method of quilting each block (free handed without following lines, or restitching on lines once I have stitched them :0) It will be beautiful! I am just trying to learn new methods and increase my skills!
.jpeg)

.jpeg)

Saturday, January 18, 2014
More Progress..
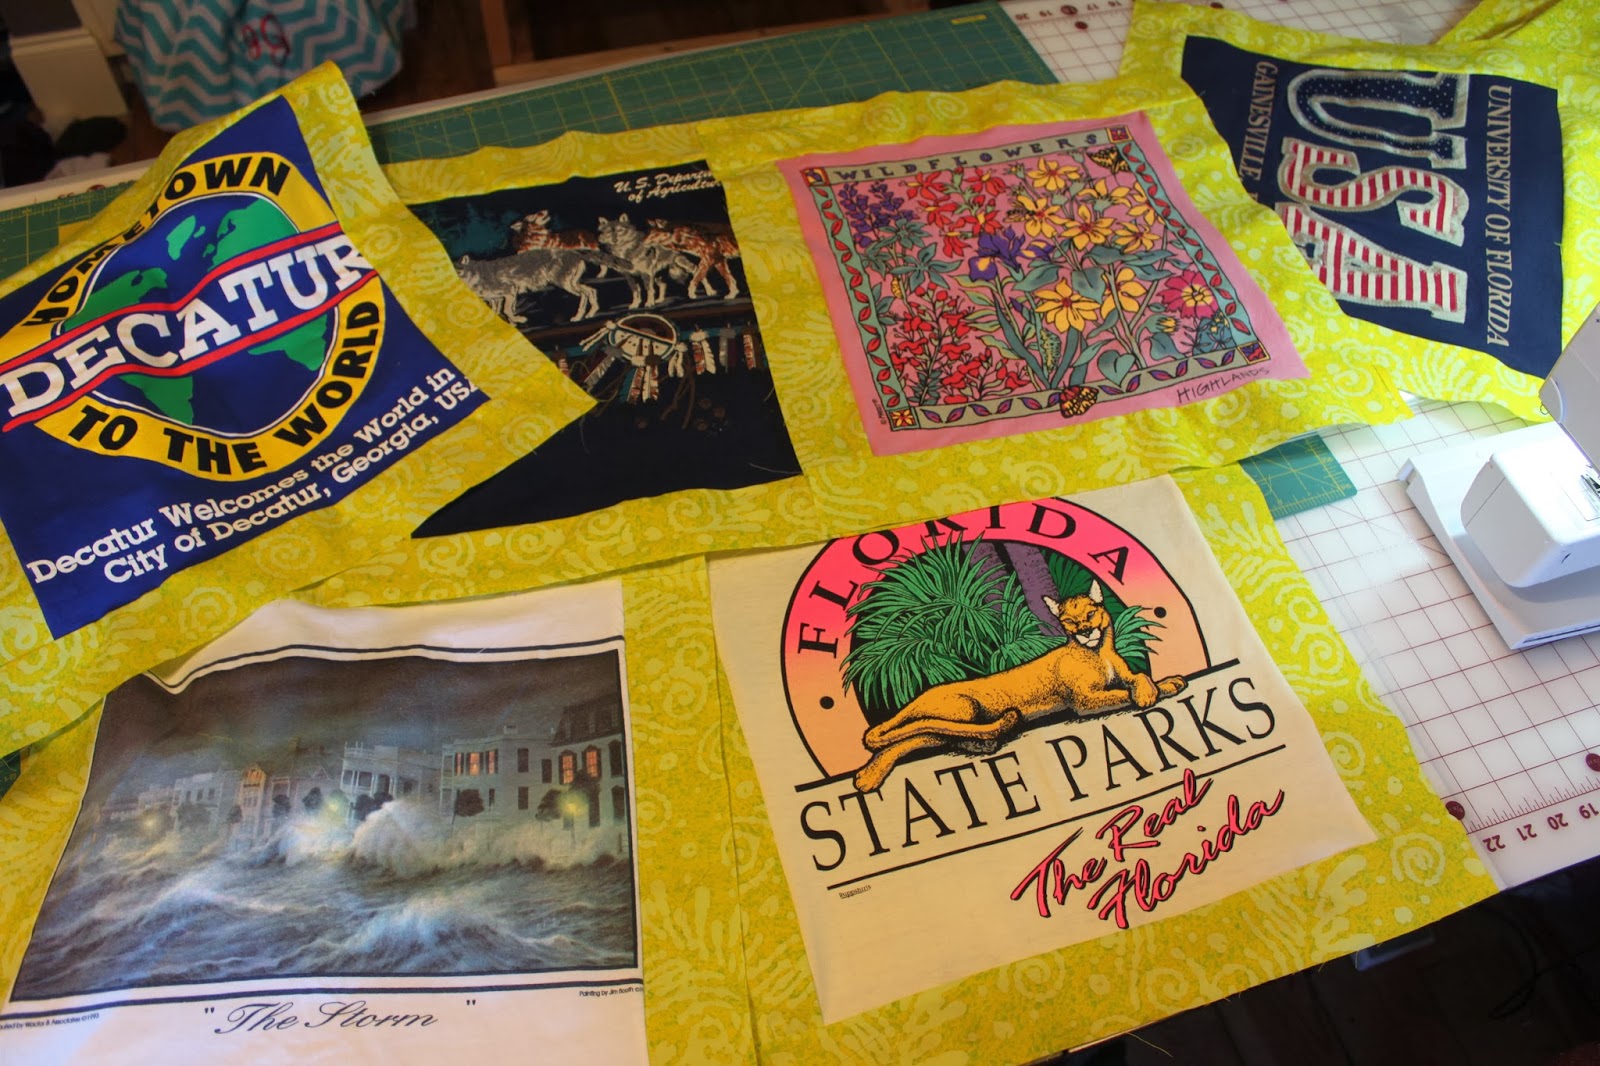
Ok this week I didn't do a whole lot more on the t-shirt quilt, but I did get the yellow batik strips sewn onto 6 blocks...so slow progress is better than no progress! I can now make six block sandwiches, or continue to cut and sew strips onto blocks...not sure which way I will go yet but it is my goal to do at least a small part each week on this quilt, if nothing but to "ponder and plan" the next step... at this point we have six yellow blocks and six green blocks..
I am not so proud of my free motion quilting block this week, and almost just threw it away and did another one....I learned a few things from this block: Do NOT try to free motion quilt when you are in a hurry, have only partial lines marked, or have a small child crawling on your lap and wanting lunch. These are not the opportune times for this type of project which requires concentration. I have quilted a ton in my life, but very rarely do I do so following a marked line, and in many ways this has been more of a challenge for me! I usually pick a design from Leah Day's plethora of choices, and then just look at it and come up with my version of it free hand...not tracing any type of lines. This has always seemed to work for me in the past, but now trying to trace lines on a fabric and then follow them exactly is a skill I am trying to build. What can I say, I'm a free spirit! So, in reflection, I did not throw away the wobbly quilted lines block. The fact that I obviously did not correctly follow her directions in marking lines around the outside of the block so that I would have a space to travel stitch on, or the fact that I started in the center of the block instead of the outside are going to serve as a reminder to me next time that I need to pay closer attention to the process, and try new things. Maybe by the end of this thing I will have a new method of quilting, being able to follow marked lines, as well as quilting impromptu.
That really, really wobbly looking line to left center are tail threads that I need to hide...I don't know I may need to redo this one!!!! But, this is a learning process and that chocolate thread color really, really shows up any imperfections on that white and tan!
Friday, January 10, 2014
Working on New Quilts!
OK so I have three four patch blocks together for the quilt along with Leah Day and the Free Motion Quilting Project. I chose to do light colors so that they would look fresh and clean, and go in any room in the house. I was a bit challenged when I sat down to mark the block quilting lines. I had bought the Fons and Porter ceramic marking pencil from Leah's web site a few months back, and was excited to use it, but guess what! The "lead" is white! So no, I won't be using that...I started marking with a water soluble purple marking pen, but the blocks were still slightly damp from the starch (or maybe the humidity in the South Carolina air) so that dissolved rather quickly! I should have bought the "Mark Your Quilts Kit" so that I got an option for light and dark... I am going to have to make sure the quilt block is completely dry to mark a block, then quilt it directly after I do it. I am still happy with the fabric choice, just having a bit of a challenge marking it. I was proud of how the blocks met up in the center, was able to reduce the stitch length to 1.3 as she had stated, and ironed all seams open as instructed.


My second project that I am also working on is a t-shirt quilt that has been on the back burner for some time. I have all blocks cut to size (14 x 14) and I am cutting up strips that are 2.5 each to sew around all sides. I am going to try the quilt as you go method since this will be a big and bulky quilt to maneuver under the sewing arm....also it is going to be double sided (t-shirts on both sides) so by quilting it this way I can make sure that they will match up as closely as possible on both sides. This will be the first time I have attempted to make a quilt this way (quilt as you go) AND double sided, but I am hoping it will be easier than pulling all the bulk around the table and quilting space. Sylvia, do any of these shirts look familiar? I am planning on using 40 of the larger shirts on this quilt (20 per side), and then I have some pocket pieces that I will scatter throughout once I get all strips sewn to blocks and figure out where everything will go. Looking good already! There will still be some smaller blocks left even after the 40 are on this quilt. There will be enough to do another small one sided throw or wall hanging. We will get to that after one is done ok :0)
And last but not least let me tell you how wonderful the girls were this afternoon as I sewed! They sat beside me on the floor and played so well. Lucie drew and had so much fun with the scraps I was not able to use on the t-shirt quilt, while Sara June enjoyed putting things in and out of containers that were all around her. We really enjoy our craft space!
Friday, August 23, 2013
Small Fry Skinny Jeans Sew Along
I stumbled upon this fun sew along and I absolutely love this pattern! When I showed them to my husband he said "Hey those look like skinny jeans!" and I said well your exactly right! The fit is perfect on my daughter (she is 2 and a half), and I am especially excited about the fabric I chose. I upcycled a pair of Lily Pulitzer pants in a women's size 14 from an upscale thrift store. It was the exact right amount of fabric for the legs, and front pockets. I cut the back pockets, waist band, and half fly from the contrasting chevron fabric (which is all the craze but JUST about overdone!). I really love how they turned out, and my sister in law could not believe I had made them! She thought they were Lily Pulitzer pants because of the fabric :0) Yay! I HAVE to make these again ;0)
Finished from the back and on the sewing room table..the color looks different in that room than in regular lighting.
on Lucie front
on Lucie back
She really likes them too, she calls them her "Sammy" pants from the movie A Turtles Tale.
Coastal Cargos
I had a great time sewing along with Melly Sews and the Coastal Cargo Sew Along! I am really getting into the whole "sew really cool clothes" thing ;0) . I had a little bit of a difficult time with the fly area, but not having sewn in a zipper before I think that would be understandable. The pattern, however, was easy to follow and had great pictures to go along with the steps. Thanks for a great pattern and I KNOW I will sew these up again!
Welt Pockets...Fun!
Welt Pockets...Fun!
Zipper Added...
Completed!
Wednesday, March 27, 2013
Aloha from Hawaii, an Easter Dress, and Sara June Quilt
Well here we have it! The picture and goal I was working towards....Aloha on the beach of Hawaii! We had a great trip to Maui and spent a week touring that island and relaxing. I am so excited to get my photo book back that I created through Shutterfly...it should be here tomorrow!
And now we have what I have been working on the past two days...Lucie's Easter Dress. I must say I like it better in person, and once I took a photo of it it reminds me of baseball (I guess the ric rac) which had not even struck me when sewing it...but it is soooo cute on! I will post pics when we do a photo shoot later in the week. This pattern is from the "Sun and Surf" collection: PATTERN, but I added a bow to the front of it and made the skirt part a "pick-up" style. I was going to use the bow as a hair piece, but when I laid it on the top it looked like it was made to go on the dress. The bow pattern was found HERE
White and Yellow seersucker fabric with a green batik.
And finally a WIP that is still ongoing since January....the quilt for Sara June's bed (she's due at the beginning of June)! I really like how it is turning out, but I better get busy with this thing!
Below are the colors I am going to use for my "Ninja Star" from the Lucky Star's BOM block of the month of March...I will be working on that next week. In continuing with my animal theme, Old McDonal will have ducks on his farm in this block.
Subscribe to:
Posts (Atom)


.jpeg)
.jpeg)
.jpeg)
.jpeg)
.jpeg)
.jpeg)